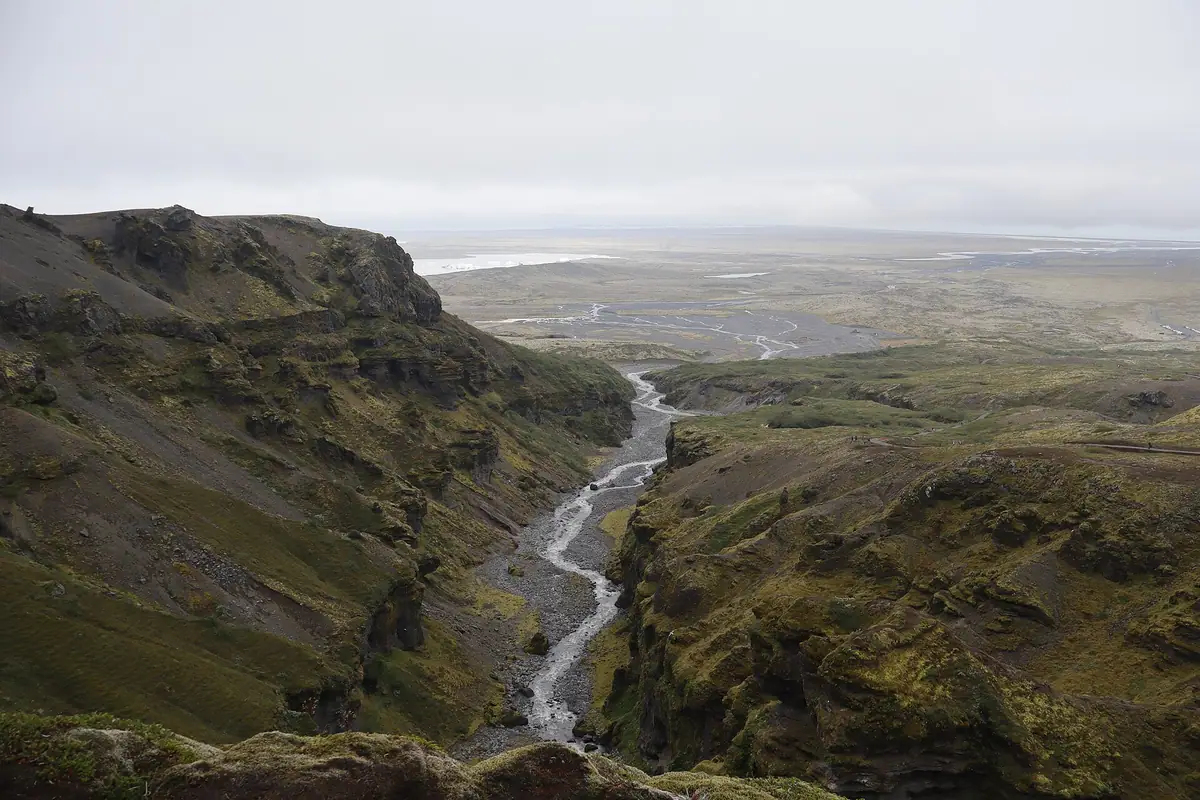
The Múlagljúfur hike is not long — six to seven kilometres return for the full route, about four to the main viewpoint — but it is a real mountain walk on a natural path, a long way from shops, toilets or help. What you carry decides whether a change in the weather is a minor inconvenience or the end of the day.
This is the kit list we would give a friend, in order of importance, with the reasons behind each item.
Footwear: the one thing that matters most
If you only read one section, read this one. The path crosses loose gravel on the first climb, one or two streams with slippery approaches, and roots and mud on the ridge. Most of the problems we see start with shoes.
- Waterproof hiking boots with a deep, grippy sole are the right choice in every month. Ankle support helps on the loose descent of the first hill.
- Trail runners are fine for experienced walkers in a dry spell, provided the lugs are not worn smooth. Expect wet feet at the crossings.
- Trainers, fashion boots and sandals are not suitable. Smooth soles are what slip on wet, silty rock.
Wear socks that stay warm when damp (wool or synthetic, not cotton), and pack a spare pair in the car for the drive on. In May and June, or after heavy rain, the crossings can run wide enough that you simply walk through. For what the ground is like section by section, see what the trail is actually like underfoot.

Layers for wind and rain
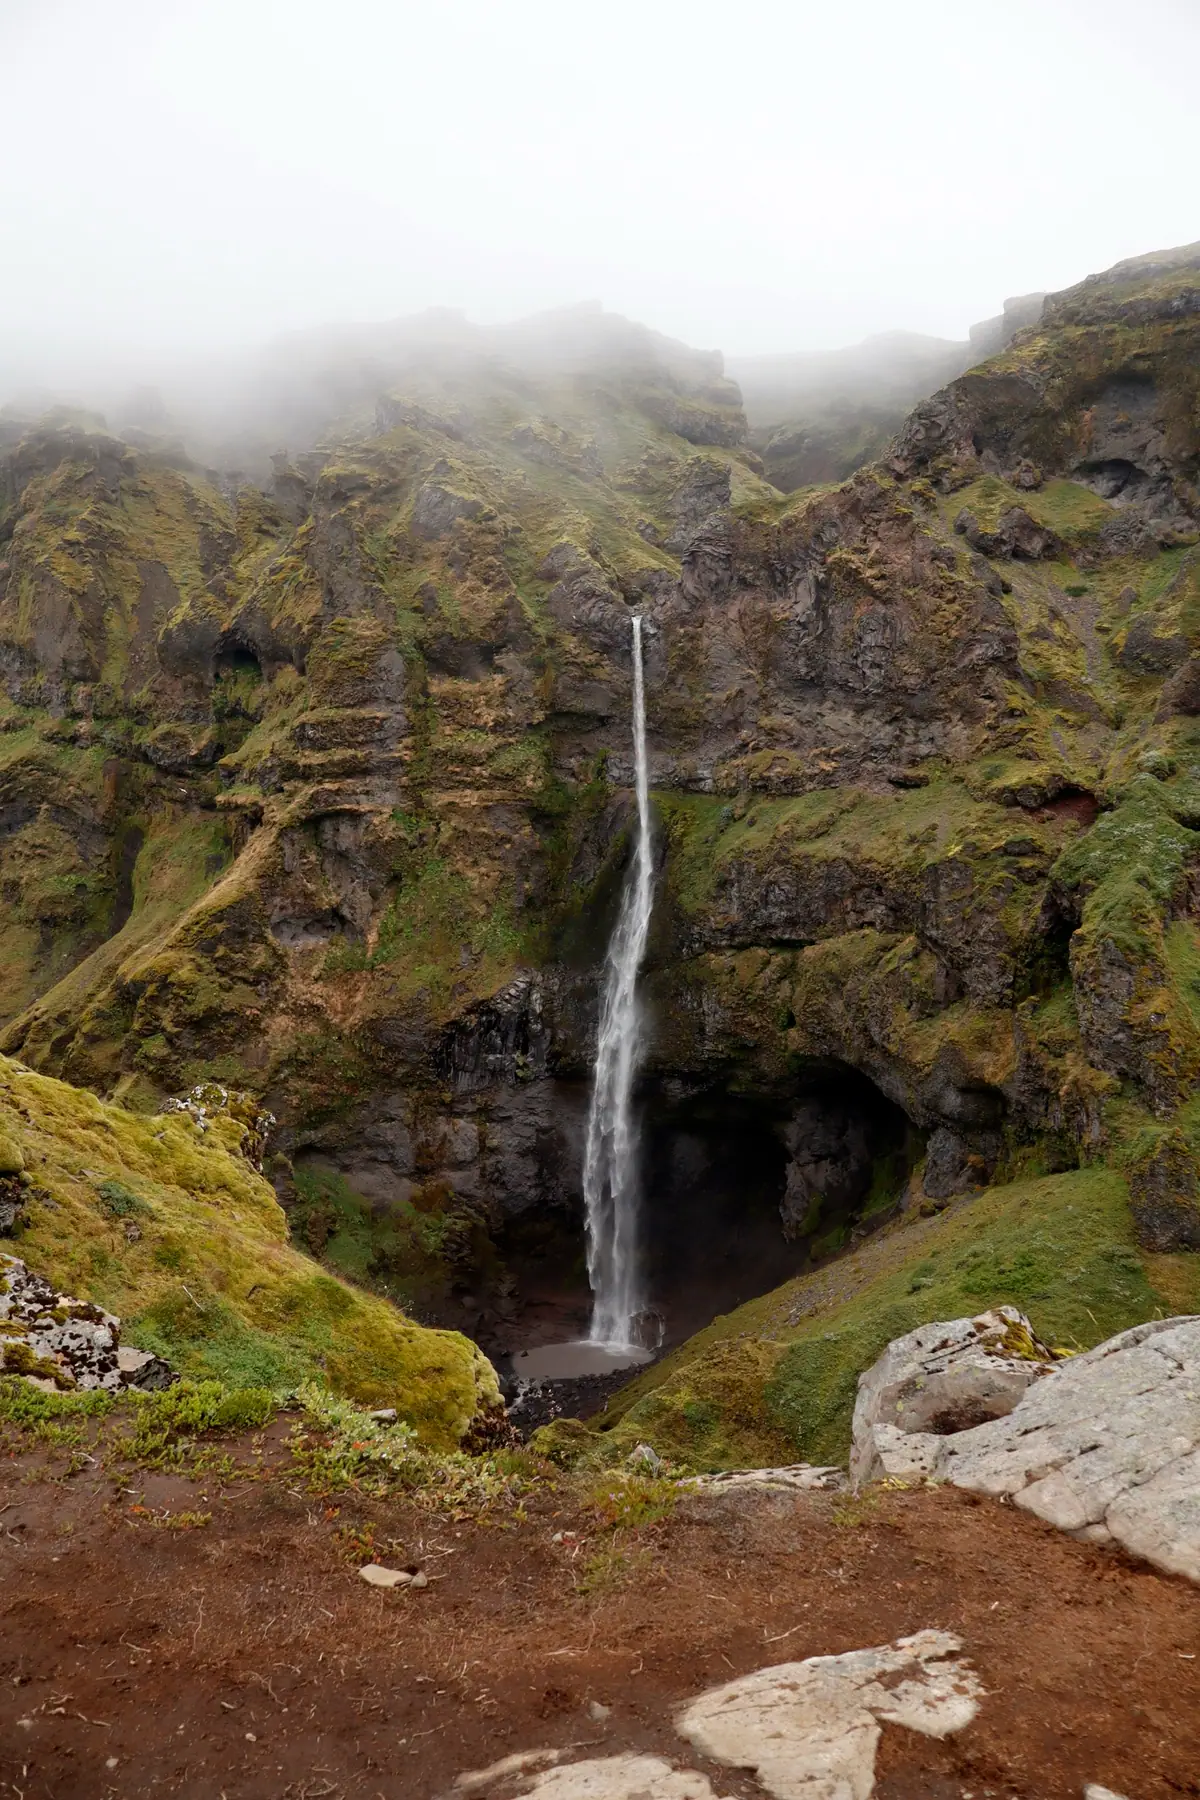
The weather on this coast changes quickly, and the canyon makes its own. Air is funnelled up and along the gorge, so the viewpoints are often much windier and colder than the car park. Dress in layers you can add and remove as you climb:
- A waterproof, windproof shell jacket with a hood. Not a showerproof softshell — a proper shell.
- Waterproof over-trousers, or at least quick-drying trousers. Jeans soak up rain and stay cold.
- A warm mid-layer: a fleece or light insulated jacket you can put on at the viewpoint.
- Hat and gloves, even in July. Wet hands get cold fast in wind.
You will warm up quickly on the first climb, so start a little cool rather than overheating and sweating through your base layer.
Food and water
There are no facilities at the trailhead — no toilets, no café, no water point — and nothing on the trail. Carry everything you need for two to four hours:
- Water: around a litre per person is a sensible minimum, more on a warm day. Streams look clean but you are walking in grazed country; if you refill from them, treat the water.
- Food: a proper snack or lunch. The nearest café and toilets are at Fjallsárlón, about six kilometres away (more on the area page), so eat before you start if you can.
- A bag for your rubbish, including fruit peel and tissues. Nothing breaks down quickly up here.
Navigation, phone and signal
The path is a worn line marked in places by weathered wooden posts that are easy to miss in flat light. Do not rely on following other walkers.
- A fully charged phone, with an offline map of the area downloaded before you leave your accommodation. There is no reliable signal on the upper rim, and coverage along this stretch of Route 1 is patchy.
- A small power bank. Cold and constant photography drain batteries faster than you expect.
- The parking coordinates, 63.993021, −16.436285, saved in your phone. The turn-off from Route 1 is unsigned and easy to pass at speed.
Safety kit and Safetravel
Iceland's official travel-safety service, Safetravel.is, is run by ICE-SAR, the volunteer search and rescue association. Two of its tools are worth setting up before you drive out:
- A travel plan. Tell someone you trust where you are going and when you expect to be back, so that someone notices if you do not return. Safetravel explains how.
- The Safetravel app, which shows weather and road alerts and can share your GPS location with the emergency services if you need help.
The emergency number in Iceland is 112. Beyond that, a small kit makes a big difference: a basic first-aid kit with blister plasters, a foil emergency blanket, and from mid-August onwards a head torch, because the nights come back faster than most visitors expect.
The canyon edges are unfenced the whole way. Stay at least two metres back, especially where the ground is wet or undercut, and keep children within reach. Skip the narrow ledge on the upper rim in high wind.
Useful, not essential
- Trekking poles — the most useful optional item. They help at the crossings and on the loose descent of the first hill.
- Gaiters in spring, when the path is at its muddiest.
- Sunglasses and sun cream. Long summer days add up, even under thin cloud.
- A dry bag or a liner inside your rucksack for the spare layer and the phone.
If you are thinking about winter
Everything above, plus microspikes or crampons, a warmer insulated jacket and the experience to use them. The access road is not ploughed, the exposed sections ice over, and there are only four to seven hours of daylight. We recommend the canyon in winter only to experienced, equipped parties; for everyone else, see the best time to hike.
- Waterproof boots with real grip
- Waterproof shell, warm layer, hat and gloves
- Water and food for 2–4 hours; there are no facilities
- Charged phone with an offline map, plus a power bank
- A travel plan with someone at home; 112 for emergencies
- Optional: poles, gaiters, head torch from mid-August
With that in the bag, the rest is the route: read the hiking guide for the stages and the turn-around points, and Plan your visit for the road, parking and the nearest toilets. If you are curious about what you are walking into, The canyon tells its story.